-----------
-----------
-----------
Hunting
-----------
-----------
-----------
From a posting on the Banjo Hangout Website:
*******************01-03-2008**************
"This post is about a synthetic banjo head material that I've been experimenting with, in case someone else is interested in a potential replacement for skin.
Last spring I wondered if there was a synthetic material available in bulk that could be used as a direct replacement for skin, i.e., use original tension hoop & flesh hoop.
I experimented with a bunch of materials, starting with a Tyvek® FedEx® envelope. If you look closely at a FedEx® envelope, you can see that it is made up of small swatches of more-or-less randomly oriented, spun material. This material appeared to be closer in structure to skin than homogeneous, plastic heads. I mounted a FedEx® envelope on a banjo head and was surprised how good the finished result sounded... boomy, good bass, fairly close to skin. Unfortunately, Tyvek® is fairly stretchy, and after about a week, the bridge had sunk down close to the dowel. Obviously, this material wasn't the answer.
I did some research on Tyvek®, which is a radially-spun synthetic created by Dupont, in the same family as Kevlar®. After some hunting around I found another synthetic in the same family and bought a large roll of the material. The material is roughly between Weather King® and Fiberskyn® in thickness, non-stretchy, unaffected by moisture, and heat-resistant. I've been trying this material out on banjos, ukes, & banjo-mandos, and it works well & sounds pretty good.
It's non-stretchy, so you have to be pretty meticulous in mounting it so that you don't get wrinkles in the finished, playing surface. It's obviously not a replacement for Weather King® or Fiberskyn®.... takes about an hour to install a head, but it might be of interest if you're trying to fit an odd-size head, or if you want to keep original flesh hoop & tension hoop hardware.
I gave out a bunch of samples at the Clifftop, WV festival last year, and the comments that I got were positive. This post is a little bit on the commercial side (to help me recoup the cost of the bulk roll that I bought)....... if anyone else is interested in trying out this material, I'd be glad to swap some samples for strings or parts."
*******************
Here's a link to the Banjo Hangout post, which contains some comments from people who have tried out samples of the head material:
Here are some instructions for installing the head material. It takes some instrument-working experience to install........ common comments from luthiers who have tried it is that a) it's harder to install than a calfskin, and b) installation gets easier as you get experience working with the material. Not recommended for someone who has no experience installing banjo heads.

Clip 01
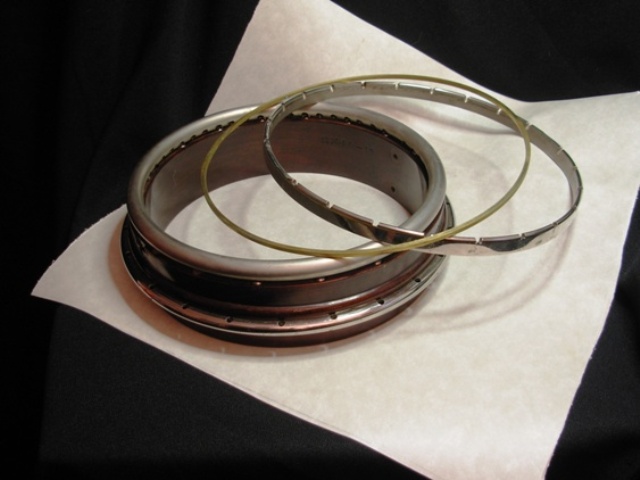
• Check on general condition of glue, hardware
• Remove old head.
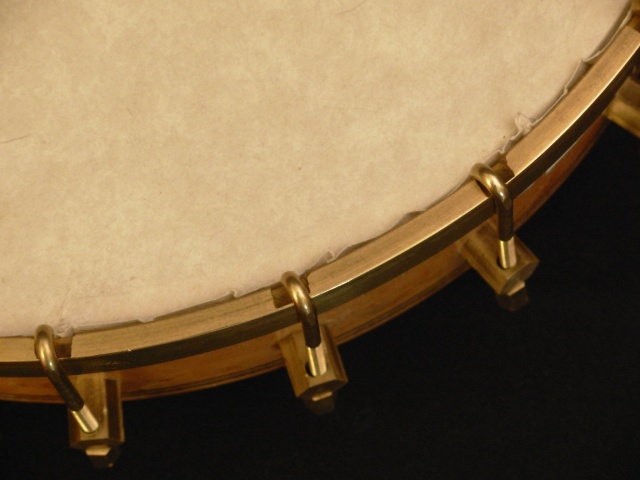
• Comments about flesh hoop and tension hoop construction.
Clip 02
• Check & clean old tone ring
• About tone rings and old banjos
• Light versus intensive cleaning
 Clip
03
Clip
03
• Check & tighten shoes
• Clean tone ring seat
• Make a flesh hoop Part 1
 Clip
04
Clip
04
• Flesh hoop Part 2
• Bending metal
 Clip
05
Clip
05
• Flesh hoop Part 3
• Size Yellowstone banjo heads.
 Clip
06
Clip
06
• Seat the head
• Press on tension hoop, remove, repeat
• Grain, tear direction orientation
 Clip
07
Clip
07
• Secure tension hoop with 4 hooks
• Manage height of tension hoop above pot
 Clip
08
Clip
08
• Place flesh hoop
• Work material to spread out folds below the flesh hoop
 Clip
09
Clip
09
• Loosen hooks, allow tension hoop to rise.
• Feed corners of head above flesh hoop and inside the tension hoop.
• Work out wrinkles.
 Clip
10
Clip
10
• Continue feeding head
• Work out wrinkles
 Clip
11
Clip
11
• Continue feeding head & working out wrinkles
• Look for puckers on top
• Move hooks 45 degrees
• Continue feeding head & working out wrinkles
 Clip
12
Clip
12
• Continue feeding head & working out wrinkles
• Check height of tension hoop above pot
• Apply pressure to head w/ heel of palm
 Clip
13
Clip
13
• Continue pressing w/ heel begin tightening nuts.
 Clip
14
Clip
14
• Continue pressing w/ heel, continue tightening nuts
 Clip
15
Clip
15
• Continue pressing w/ heel
• Place remaining hooks and nuts
 Clip
16
Clip
16
• Finish tightening nuts
• Trim excess head
Here's a PDF file for installation..... isn't as detailed as the video clips.
install Yellowstone banjo head.pdf
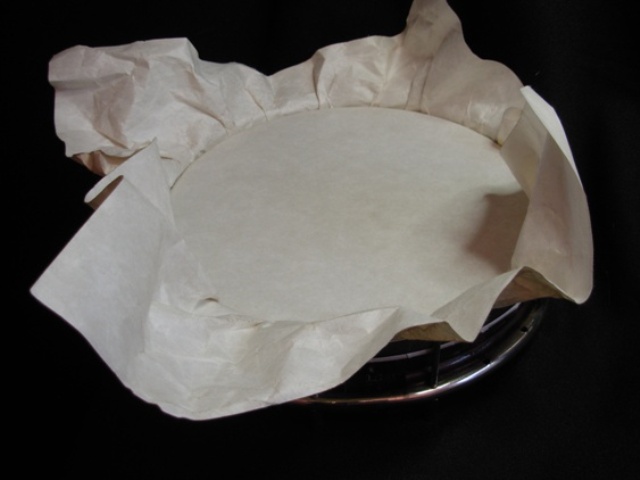
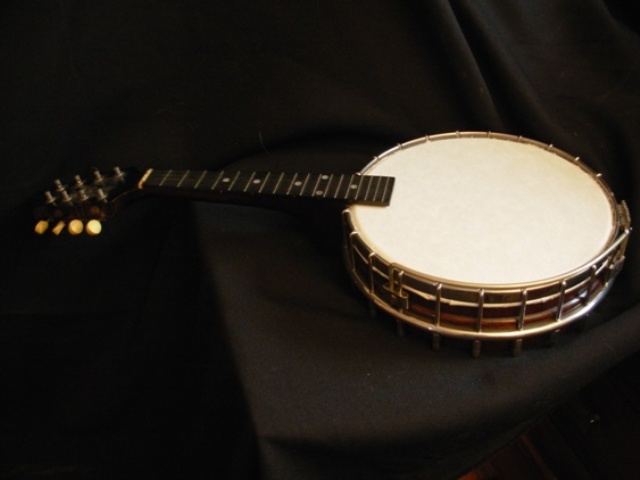
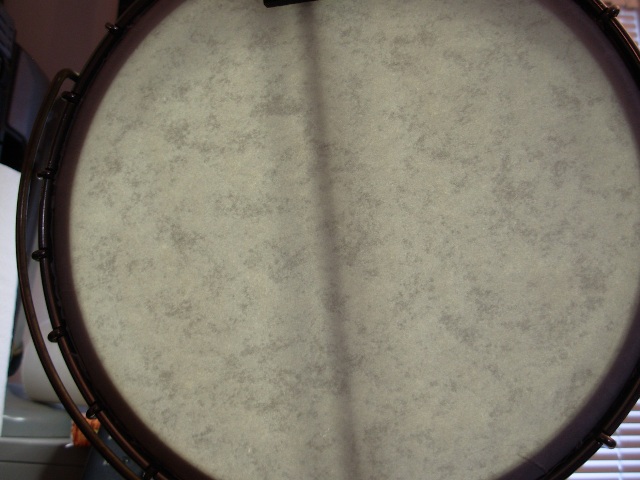
Here's what the material looks like:
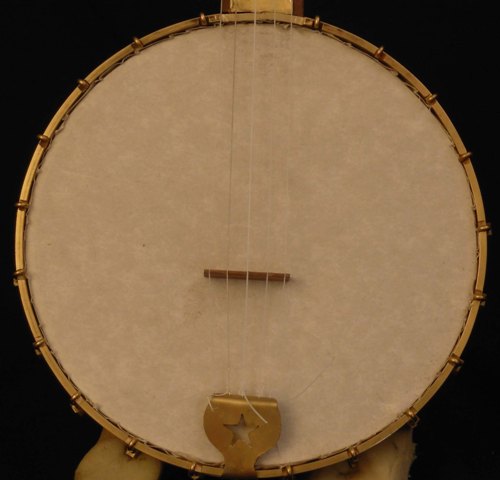
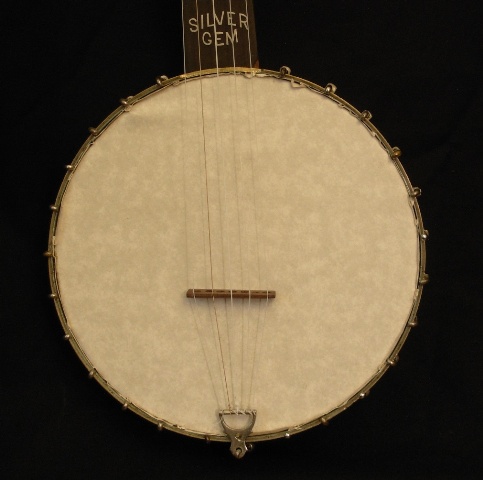
I need to re-do the Buckbee installation (picture on right) because it has a small pucker in the surface that you can see at the 11 o'clock position.
If you'd like to try out this material, please send me an e-mail.