YELLOWSTONE
JEWELRY
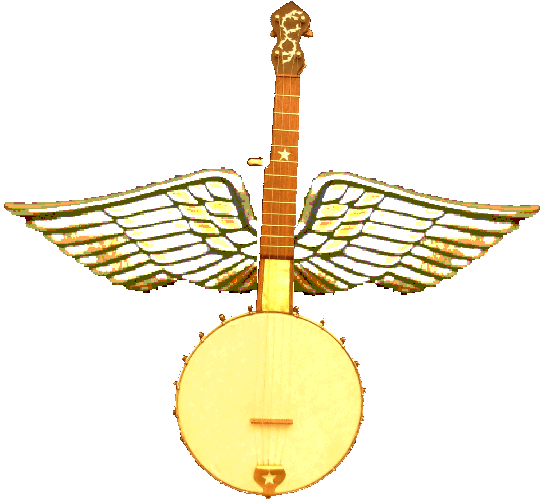
Banjos with Wings
(converting tenor banjos to 5-string)
|
----------- ----------- ----------- Hunting ----------- ----------- ----------- Village of Baoma, Sierra Leone
|
Banjos with Wings - page 2.
.................03-26-08 UNDER CONSTRUCTION..............
Initial inspection & planning
First, check the overall condition of the wood and glued joints. Take off the neck and check the dowel-to-neck joint. Fix glue defects.
Does the neck have nice inlays that are worth preserving? If so, consider doing the conversion without adding a new fingerboard. This will involve removing frets, adding wings, and then installing new frets across the wider fingerboard.
Identify missing hardware (hooks, nuts, shoes, etc.) and find replacements.
Tone ring - if missing, plan to leave as skin-to-wood, or else plan to fabricate a simple tone ring. Clean the tone ring, remove corrosion w/ fine steel wool.
Tension hoop - if the existing tension hoop is flimsy, heavily corroded, or otherwise undesirable, plan to make a replacement.
Remove shoes from pot.
Cleaning
Less is more. Wipe away dust. Very fine steel wool will remove dirt on the finish without hurting the finish if you use light pressure.
Old Fingerboard
If the fingerboard is in very bad shape, remove it. Use a heat gun or iron to weaken the glue and then use a thin scraper to separate the fingerboard from the neck. This will probably destroy the old fingerboard.
Otherwise, remove the frets.
New Fingerboard
“Two Wing” conversion Trace & cut 1/4” blank w/ 1/8” overlay. Overlay should end ~ 1/2 inch above where the octave position will be w/ bridge 1” towards tailpiece from center of head. Sand (w/ sanding block) & clean fingerboard. Epoxy blank to fingerboard & clamp securely. While epoxy is still pliable, carefully remove excess expoxy w/ exacto knife. Allow to dry. Size and form 1/4” quarter round mldg to fit entire length of 1st string side of neck & to extend to furthest extent of peghead. Leave ~ 1/2” extra on heel end, will be trimmed later. Use utility knife blade to shave a flat surface onto side of neck where 1st string mldg will attach. This gives better mating btwn 1st string mldg & neck. Sand (w/ sanding block) & clean area where 1st string mldg is to attach. Epoxy 1st string mldg to neck & fingerboard & clamp securely. While epoxy is still pliable, carefully remove excess expoxy w/ exacto knife. Allow to dry.
Size and form 1/4” quarter round mldg to fit entire length of 5th string side of neck & to extend to furthest extent of peghead. Leave ~ 1/2” extra on heel end, will be trimmed later.
“One-Wing” conversion
|